
Instead of creating another blog post for the technical audience, I would like to focus on a different group of people: Content authors.
Contrary to developers, authors typically spend a lot of time in the Sitecore backend without having ever received training or thorough documentation. Ultimately they will get the job done, but they would be much more satisfied if they were more efficient.
This series of blog posts is dedicated to you, the content authors. Its sole purpose is to make your life easier. I will show you efficient ways to get stuff done quickly, give you tools to find what you are looking for, and protect you from potential pitfalls. I will focus on getting the job done rather than on technical details.
All screenshots are taken using Sitecore 8 and the Habitat demo project, but most of the functionality should be available as early as Sitecore 6. I will focus mainly on the Content Editor, since it is the most powerful interface and much more complex than the Experience Editor (Sitecores WYSIWYG editor).
The blog posts will be published in German and English to help as many people as possible.
Enough with the talk, let’s jump in!
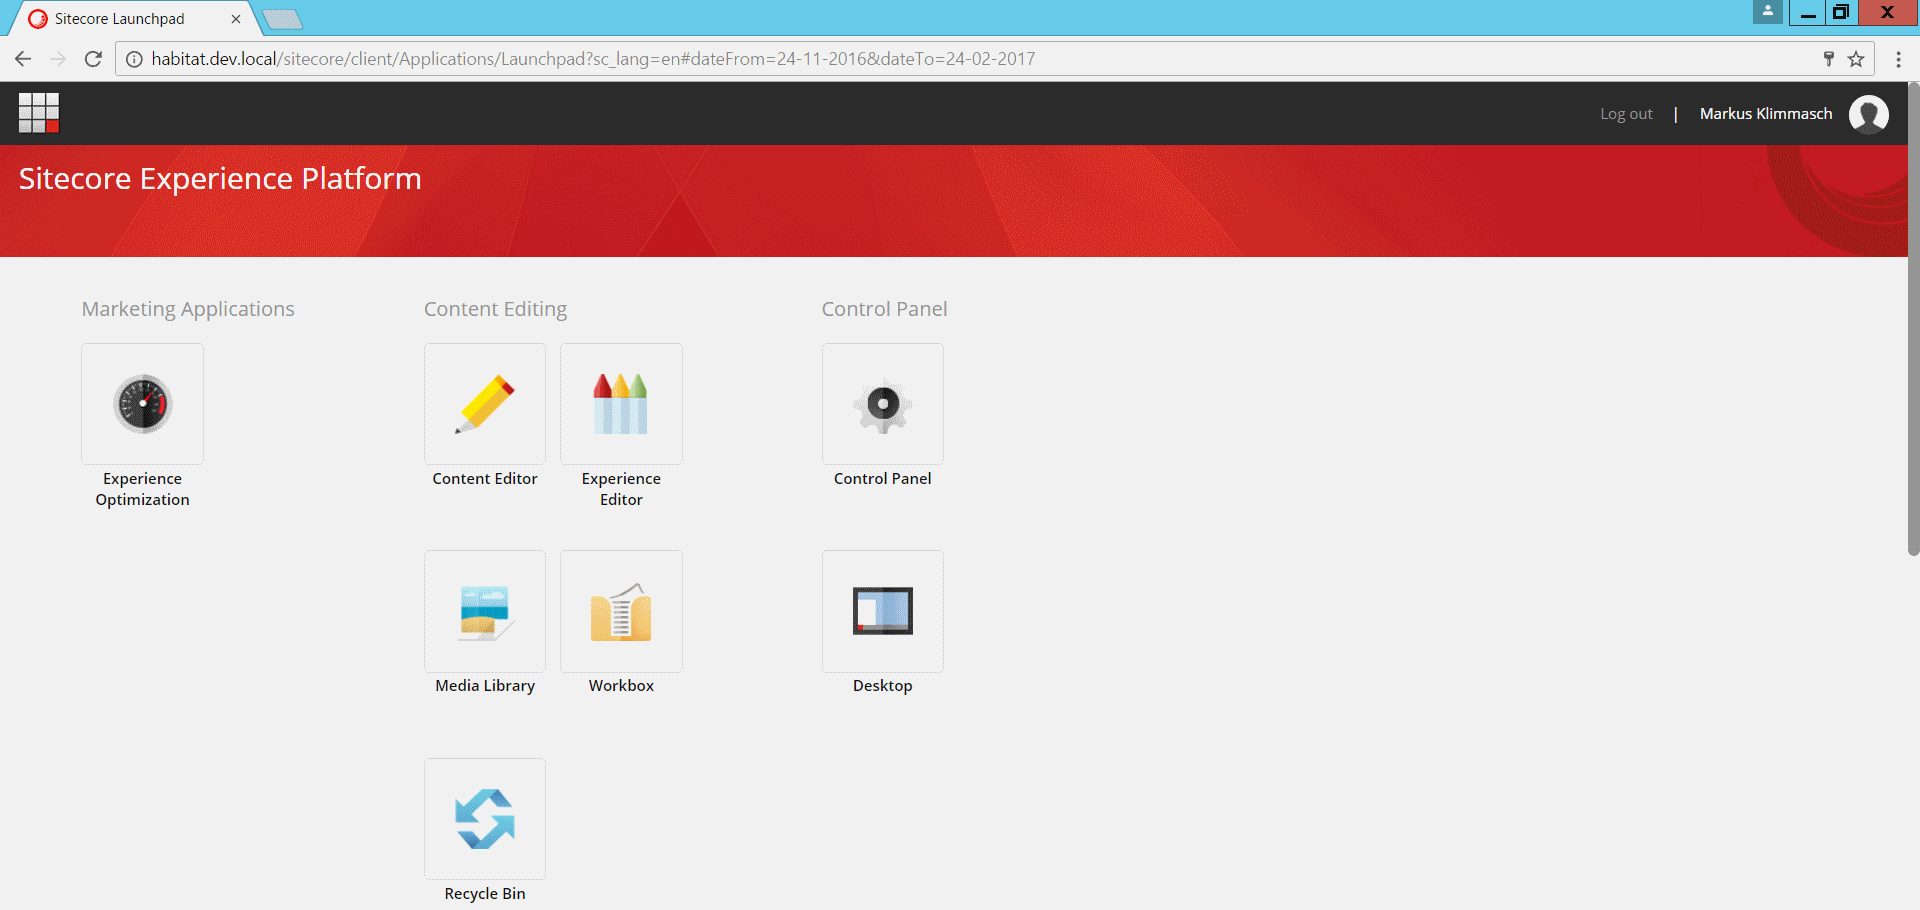
When you start the Sitecore backend, you will typically see the launchpad. According to your access rights, you might see additional tiles.
The Content Editor is Sitecore’s powerful interface where you, as an advanced content author, will spend most of your time. Before we go through the Content Editor functionality, let us take a quick look on the Application options which can be found in the upper left menu.
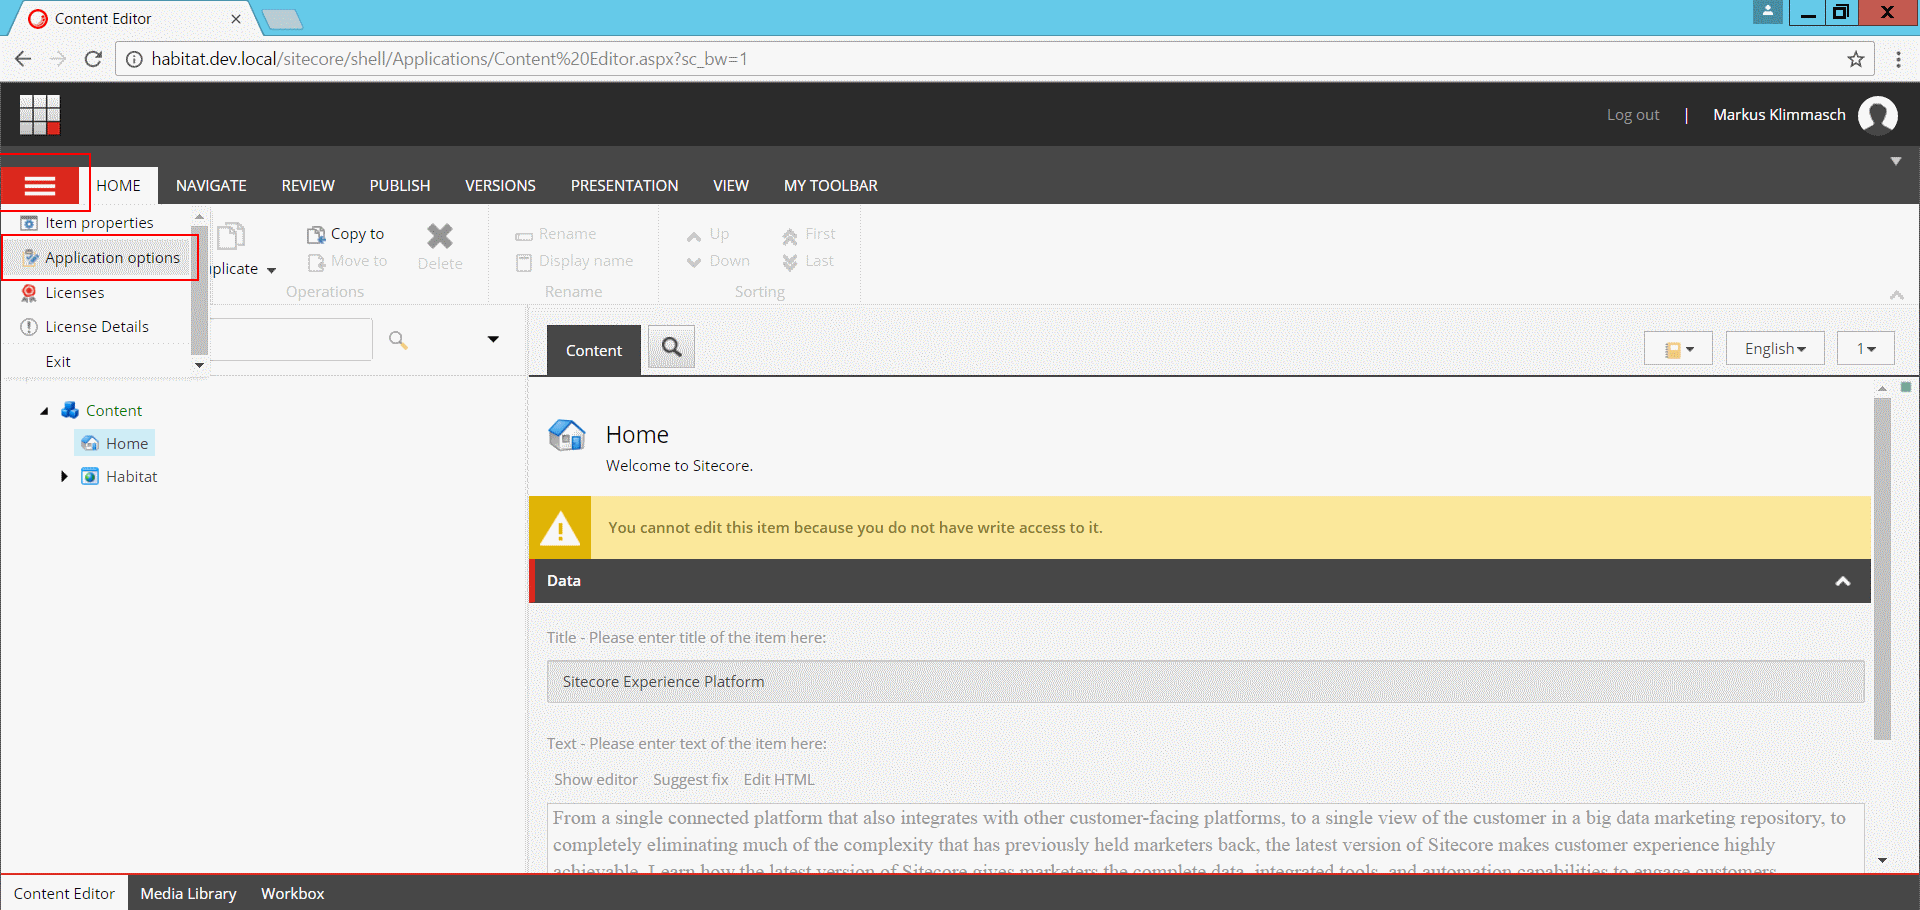
The Application options provide you with some settings that can improve your editing experience. For example, disabling the Prefetch collapsed sections option can significantly improve performance if your items have a lot of fields.
Quick info section is an incredibly handy feature for advanced users. It shows an abstract of the selected item and includes item ID and a link to the item template.

The next feature I want to show you is the Quick action bar. You might have seen the name in the Application options already. Right-click on the bar left of the content tree to see its options.

The gutters that you activate here, will provide you with additional information about the items, together with handy functionality. And all of this comes without even having to select the item.
Most content authors should at least activate the following gutters:
- Locked Items – See which items are locked and by whom. If you have rights to unlock, click to do so.
- Broken Links – The item references another item that does not exist.
- Publishing warnings – The items publishing options would make the item disappear when published
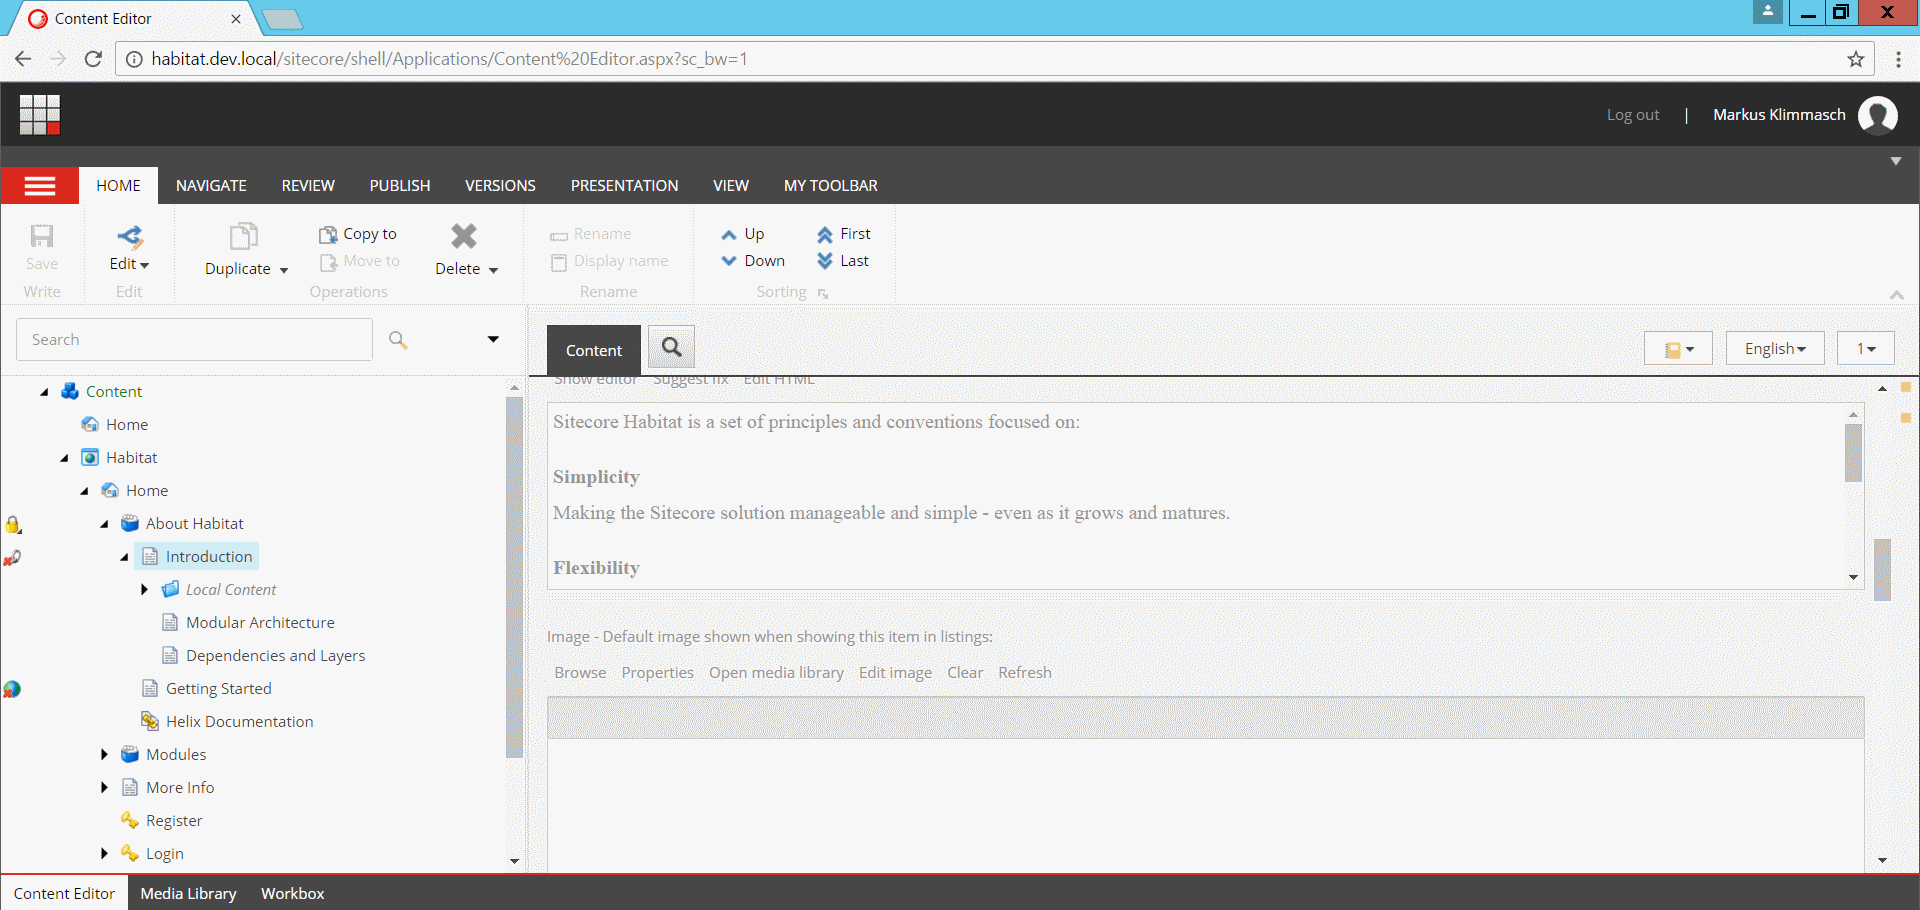
From this screenshot it is instantly clear that About Habitat is locked, Introduction has a broken link and Getting Started would be unpublished during the next site publish.
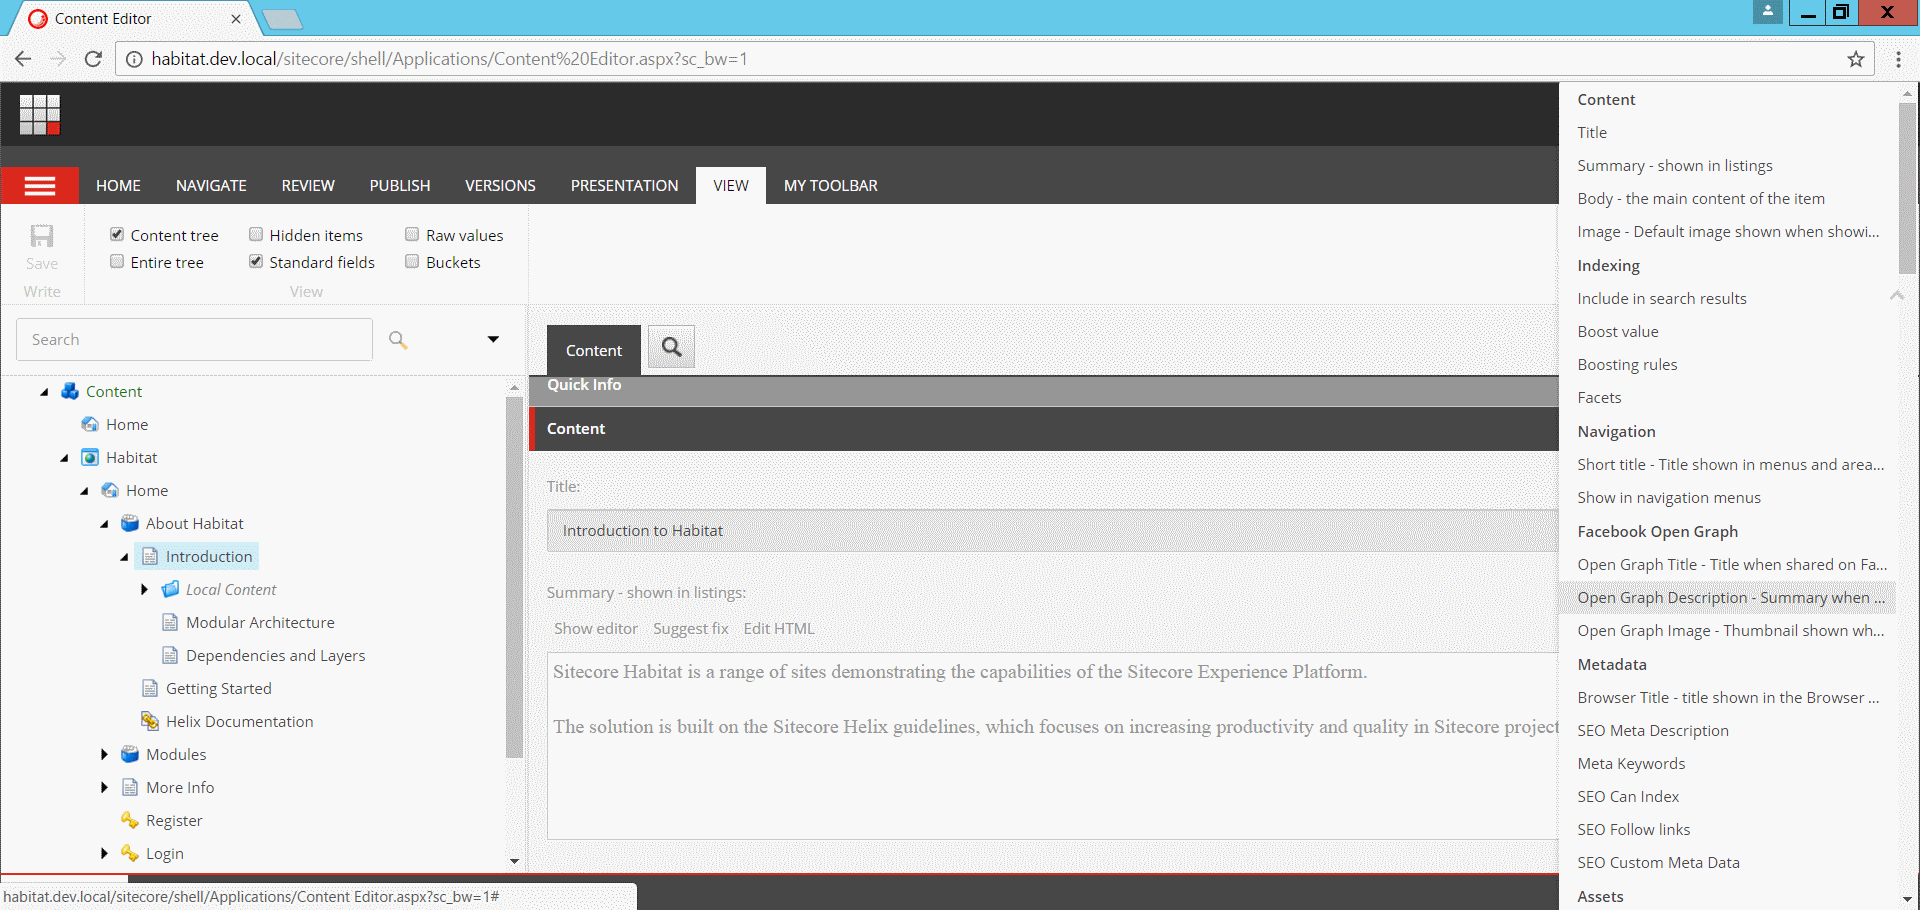
The last helpful tool I want to show you is the field overview in the upper right corner of the content area.

You surely know the two rightmost dropdowns, which are used to switch between languages and versions. The left-most button on the other hand opens a list of links to all fields and field sections in the current item. You can use this to quickly navigate to the fields you are looking for.
You can find the second part of the series here
