
Sitecore 9 is here and introduces some major changes. From xConnect over Solr-only to the installation process via PowerShell, there are quite some differences that developers have to take into account.
Installation process
The installation of Sitecore changed quite drastically. While previous versions were delivered as installer or zip file of the web folder, the new installation process heavily relies on PowerShell. While you can hardly beat the provisioning speed of the Sitecore instance manager, this mechanism provides a lot of flexibility and extensibility.
There are quite some tutorials out there now, so I will give just a short overview of the steps to take and where to find additional information.
Setup Sitecore Installation Framework (SIF)
Given you have all the prerequisites, this should be as simple as running these commands in a windows powershell:
Install & Configure Solr
As mentioned before, Solr is now required by Sitecore. You can obtain it here. Note that Sitecore is apparently pretty picky in terms of versions, so you want to use version 6.6.2.
Installing Solr is as easy as unzipping it into a folder. Many people put it under the Program Files folder, but I seem to keep running into permission issues, so I chose to put in directly on C:\.
To run Solr as a windows service, use NSSM (Non-Sucking Service Manager – gotta love the name). Download it here and extract to an arbitrary folder (you only need to call it once). From the command line, execute
nssm install solr6
In the service installer dialog, enter the path to the solr.cmd within your Solr folder. As arguments, enter
start -f -p 8983

Sitecore requires Solr to use SSL connections and you need some additional steps to get SSL-support. Kam has a nice little Script to reduce the manual steps, so have a look at this article.
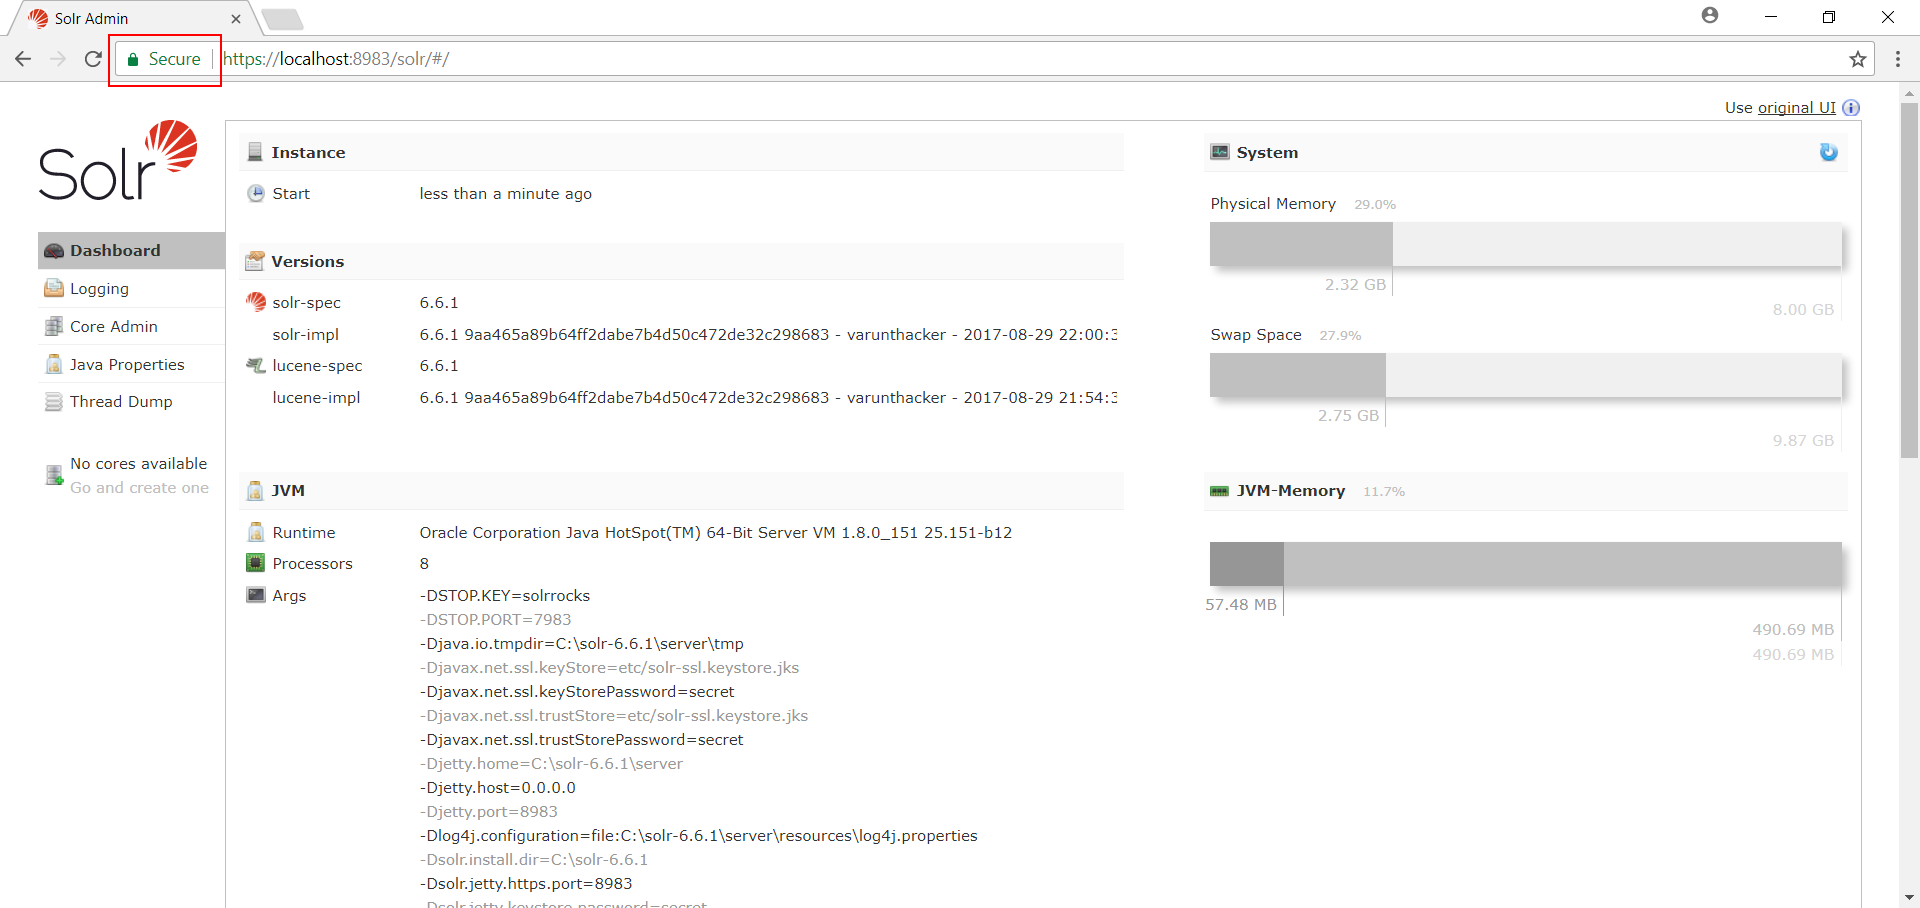
I everything works out, you should be able to access your Solr instace in your browser without SSL warnings.
https://localhost:8983/solr
Install Sitecore
Now it is time to get the actual Sitecore packages here (Packages for XP Single). Extract them to a folder that ideally has a simple path. You will find 3 ZIP-files within, one of them contains the Installation configuration that you need for the installation, so unzip that too.
The result should look like this:

I found the easiest way to install Sitecore is using SIF-less (which ironically needs SIF). Start it and fill in the parameters, namely the configuration folder, the packages, an install prefix, Solr url, folder & service name, as well as your SQL Server instance and credentials. Hit Test to ensure everything is allright and then Generate Files and Install.

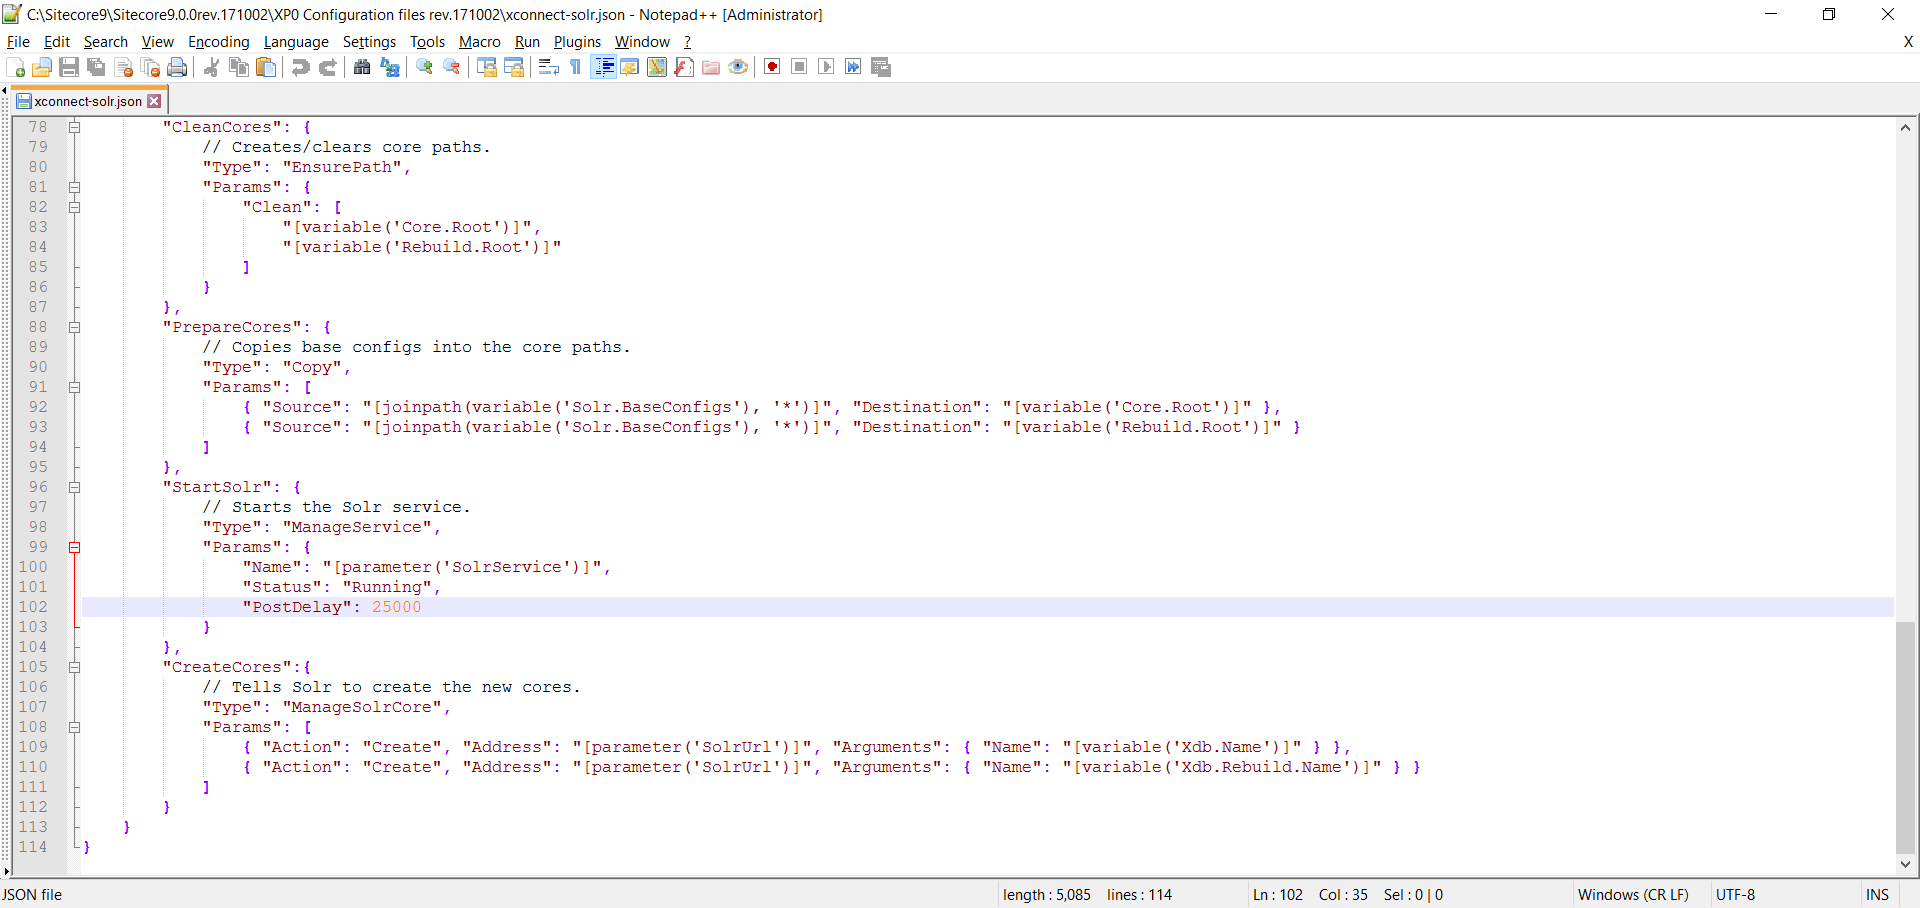
A lot of things can go wrong now, but potential error message should give you a pretty clear idea what to do. One issue that I had was that the Solr service took too long to restart and the script would complain that Solr wasn’t found (Could not find Solr instance: https://localhost:8983/solr). I wasted quite some time trying to find out what was wrong with my instance, when all I needed to do was to increase the PostDelay settings in sitecore-solr.json and xconnect-solr.json.
Given everything worked, your Sitecore instance is ready to use!
Hands-On
So, finally, we can peek at Sitecore 9! Let’s open the backend and …be disappointed. It looks very similar to the Sitecore 8 Launchpad. You can merely tell it is Sitecore 9 by the new applications Forms and Marketing Automation.
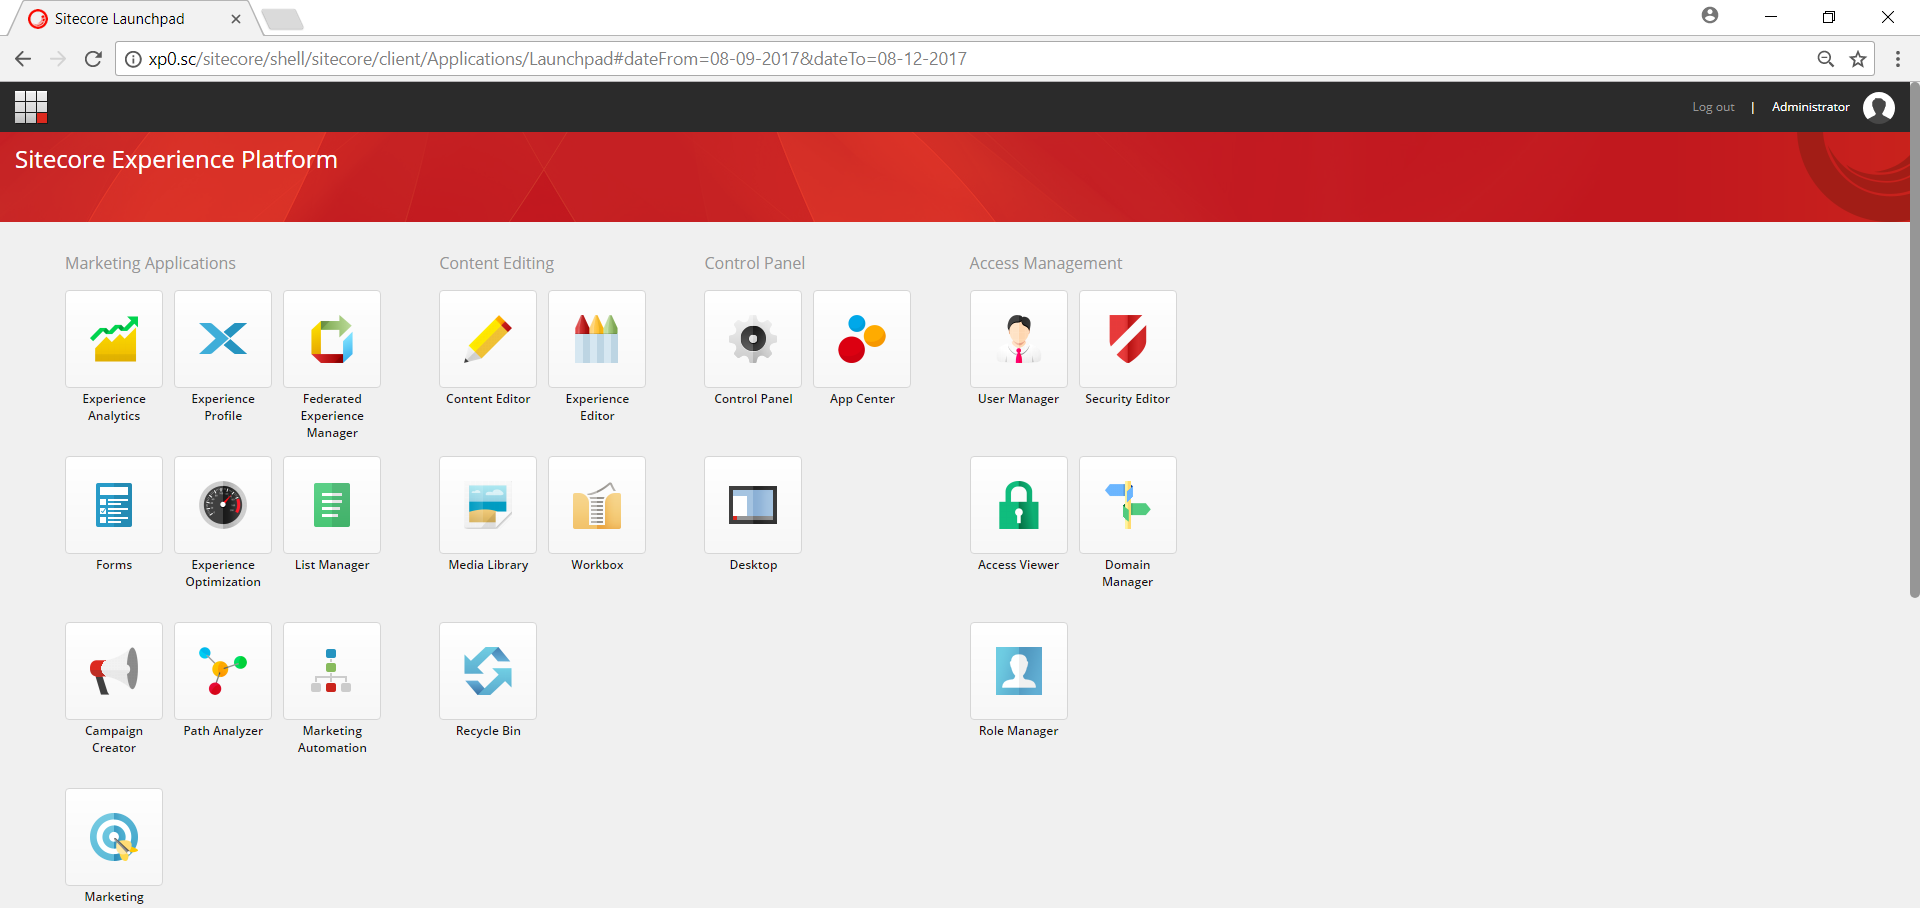
Clicking through the known Applications you will realize that there are mostly polishing changes. The App Center finally got rid of it’s dependency to Microsoft Silverlight, which was kind of overdue anyway. More interesting are the new applications, so let us have a look at these.
Forms
Sitecore added some out-of-the-box form management functionalities, which should cover most of the cases and should replace Web Forms for Marketers medium term.
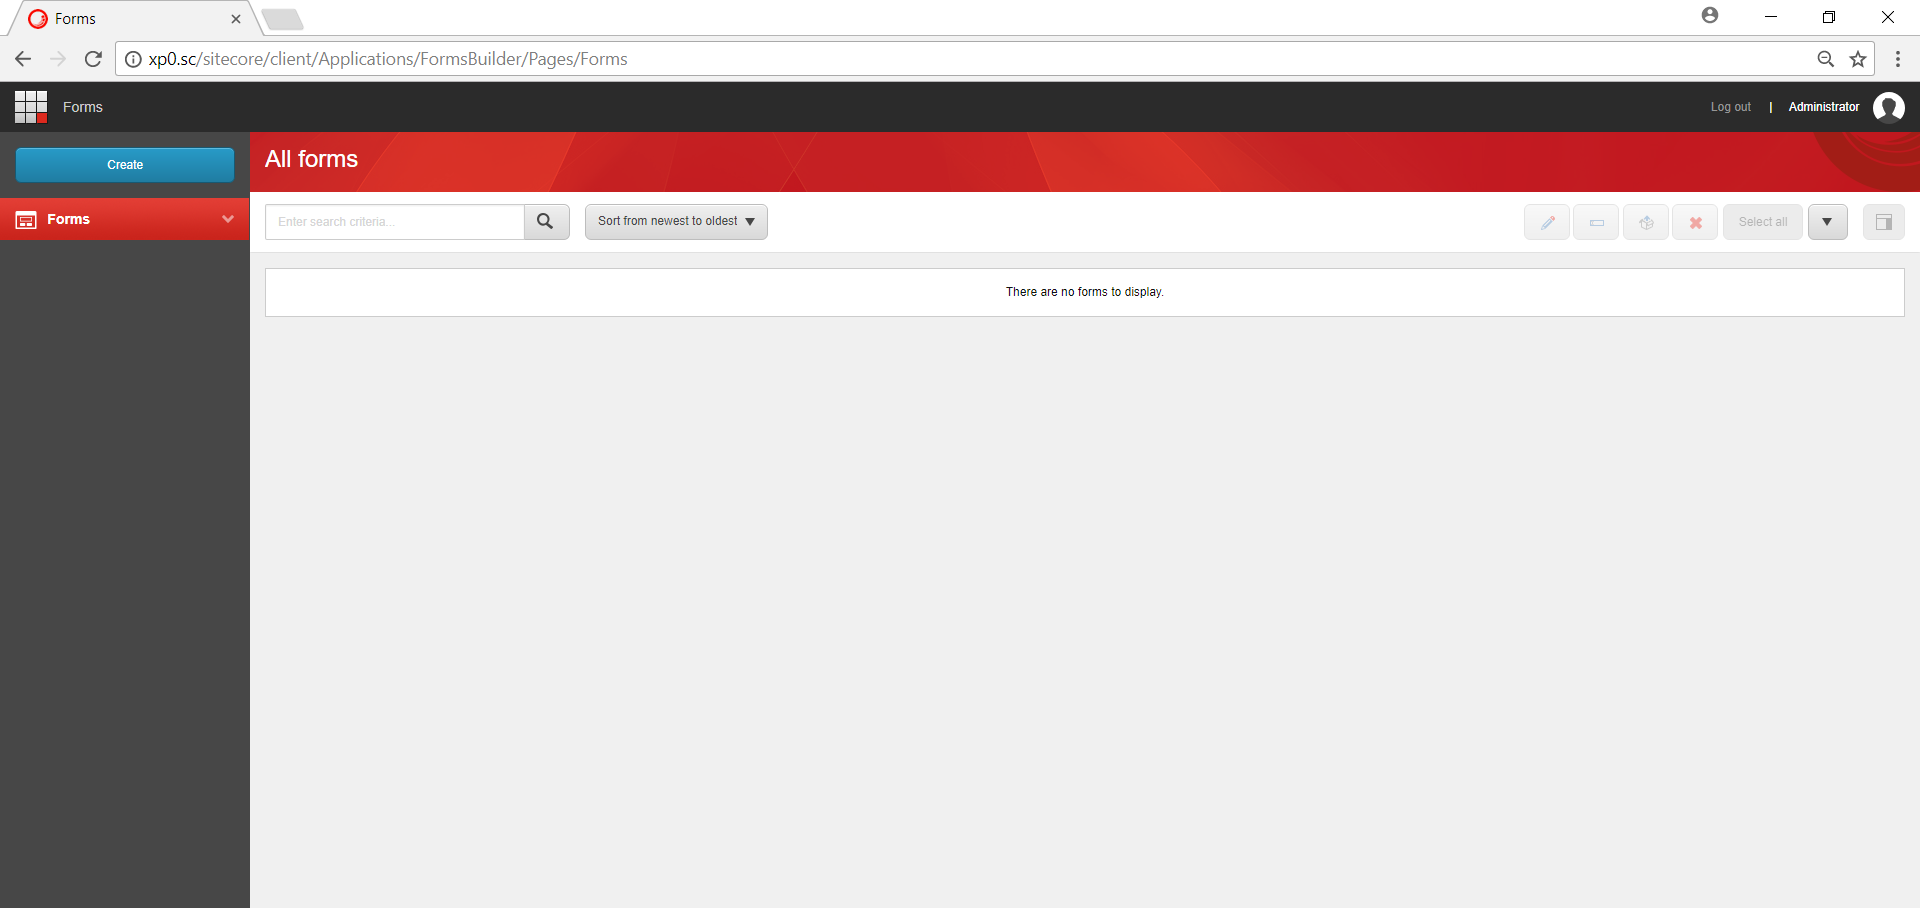
Let’s create a new form and integrate it on the demo site. Click Create → Blank Form to open a new form in the form designer.
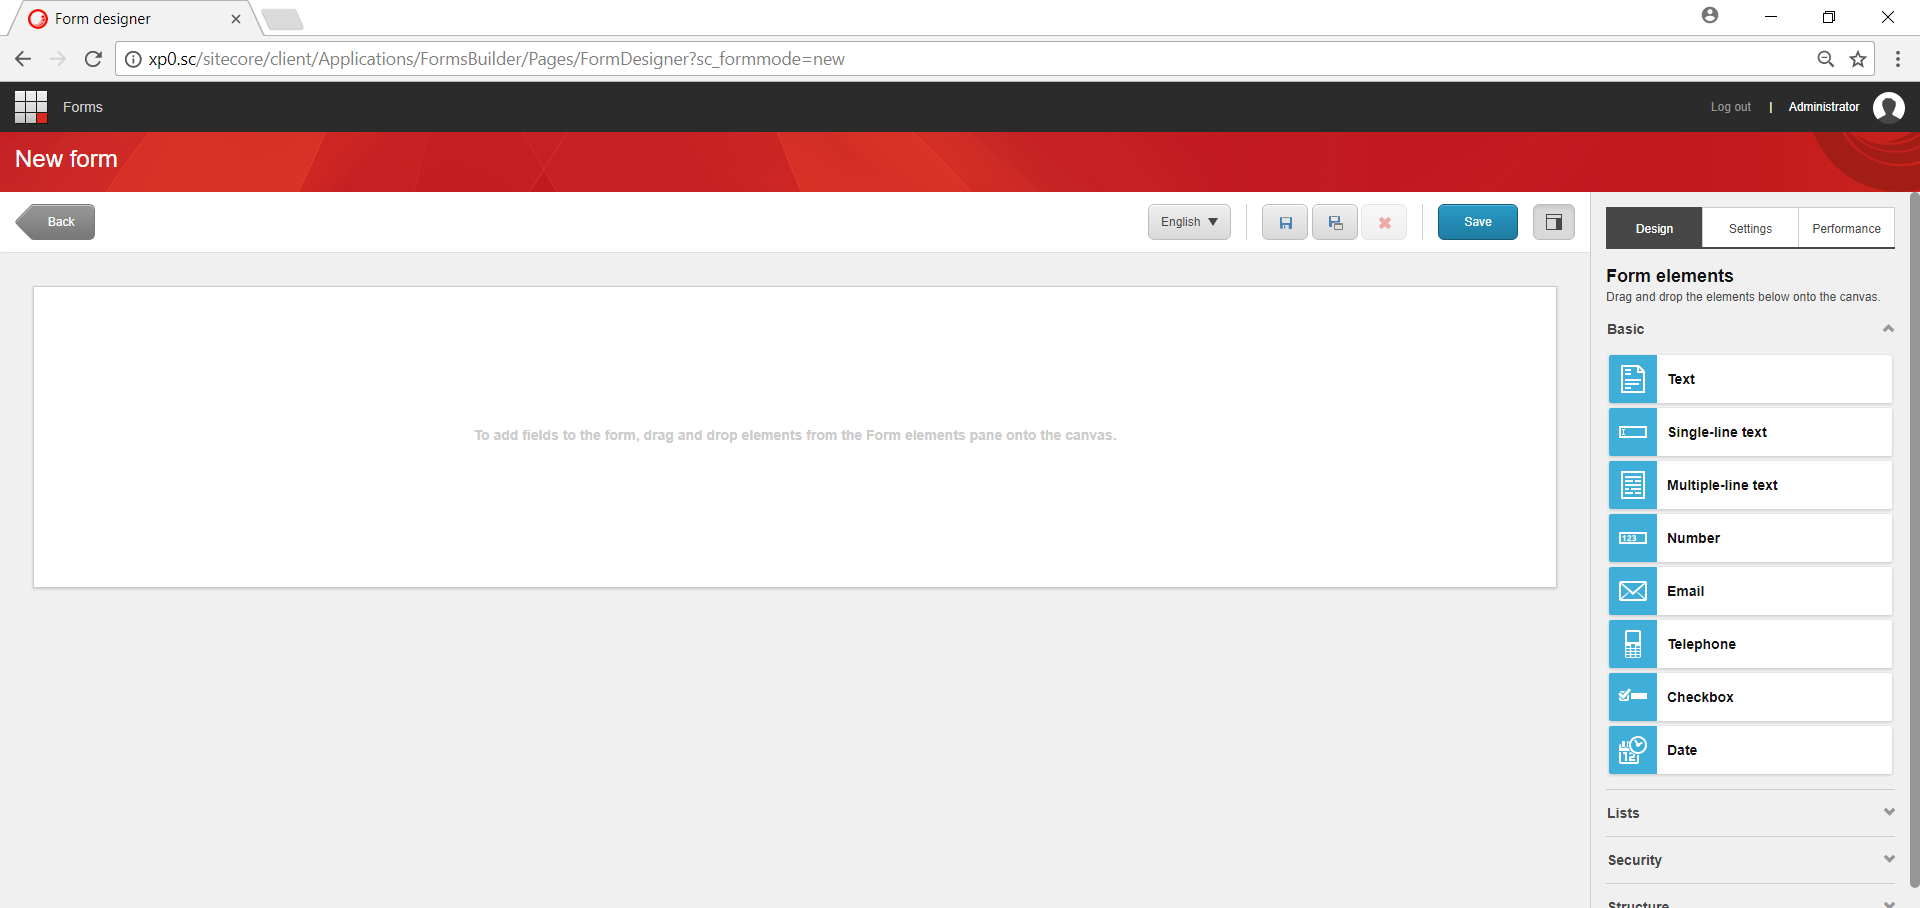
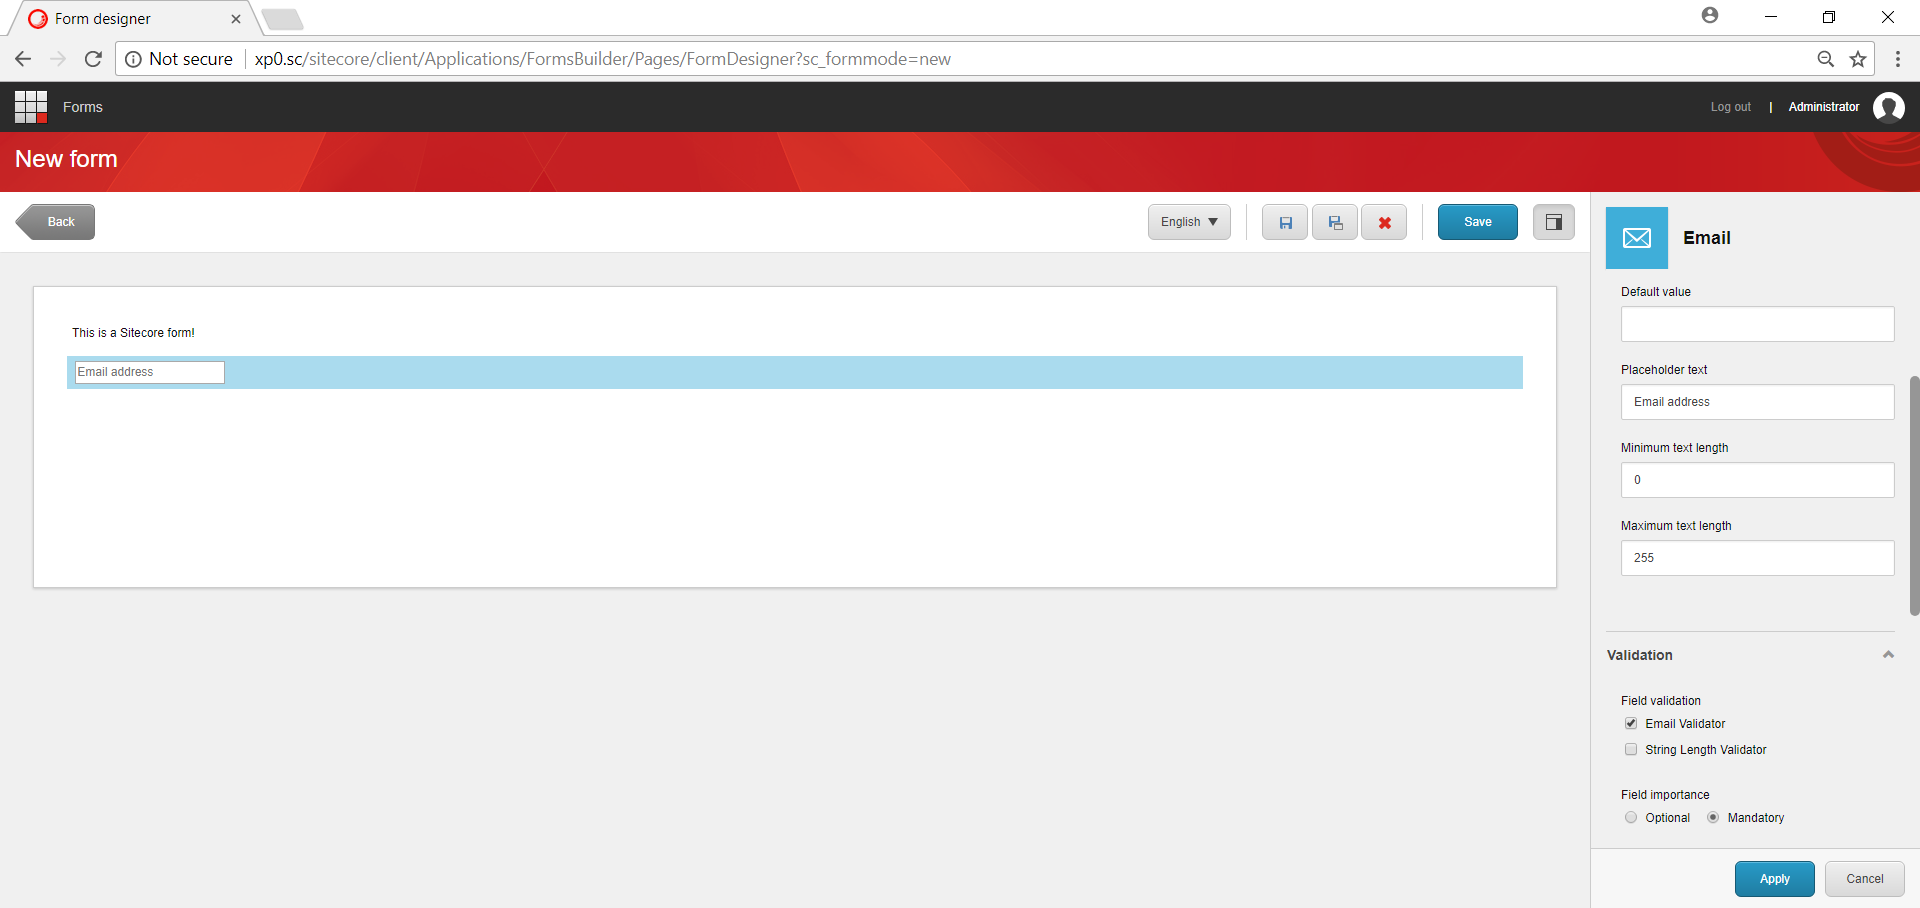
We see a nice, clean drag & drop interface to design our form. Let us add a text and an email field from the Basic group by dragging them to our page and filling in the data. The email field type supports placeholder text and validation, which makes this features sufficient for most users.
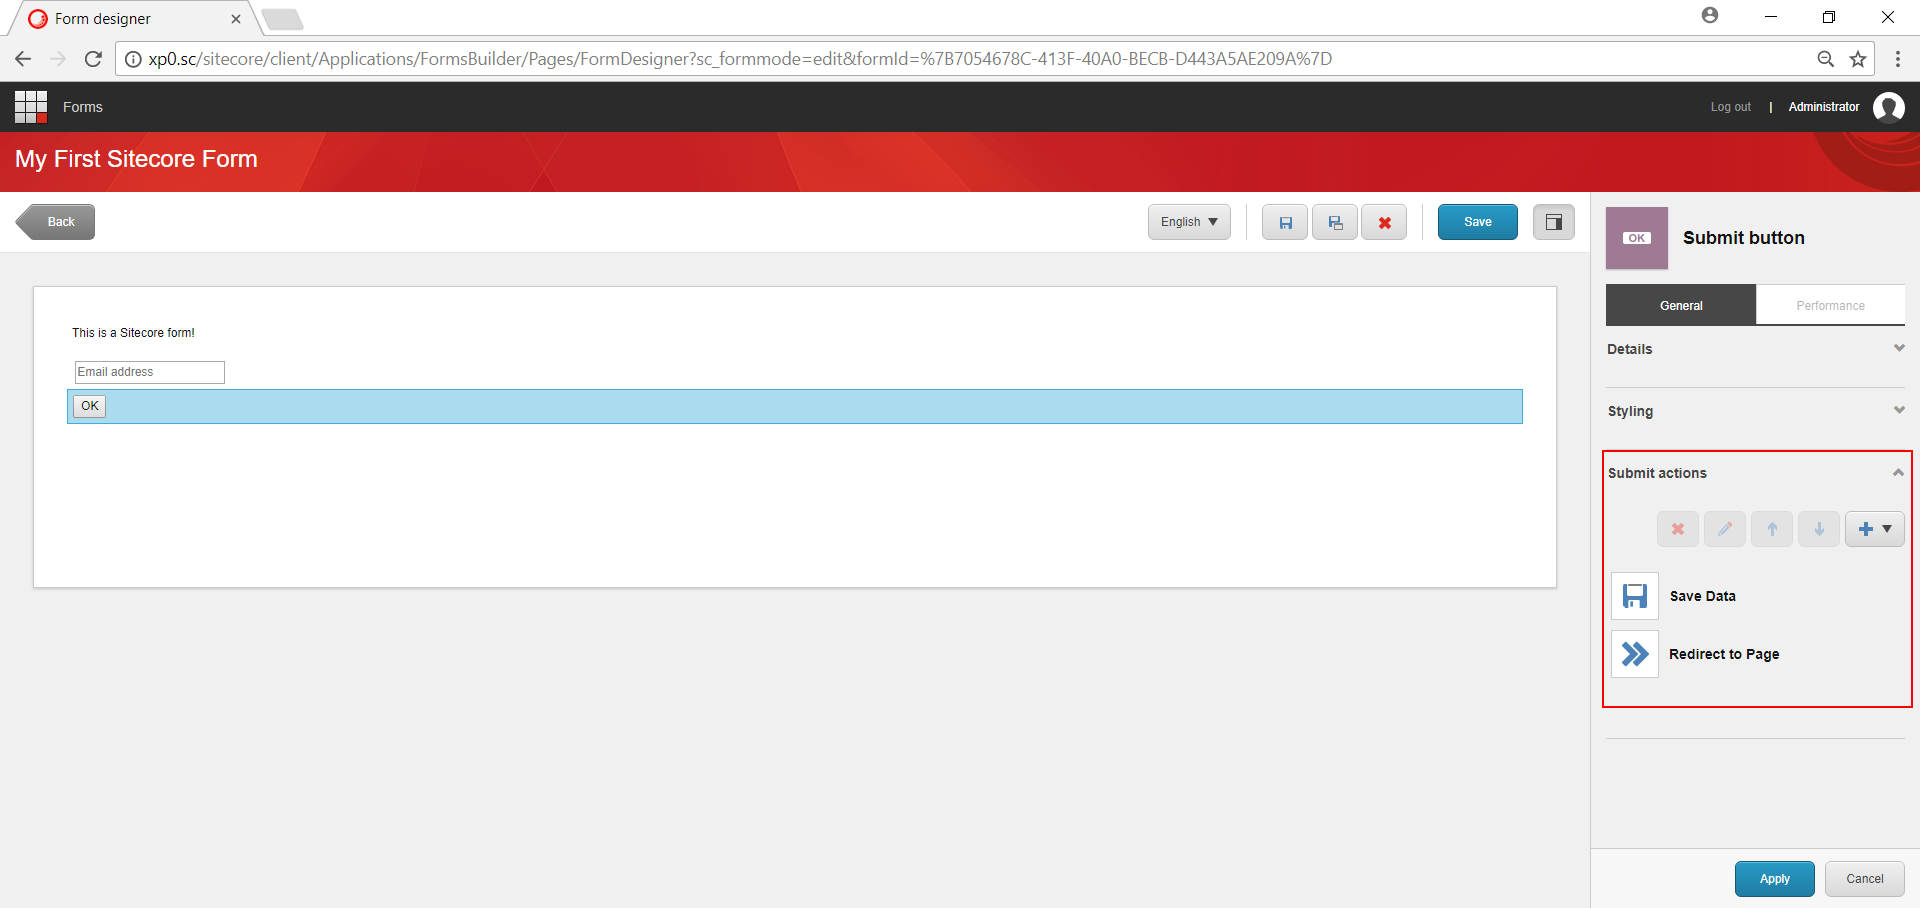
We add a Submit button from the Structure group and set a Submit action, in our case we save the form and redirect to the home item.
After we save, the form is available under /sitecore/forms and ready to use in a presentation. Unfortunately Sitecore still delivers the sample page as web form, so we have to do some work to get the MVC form running. In real life, you would create your Visual Studio Solution. For demo purposes, we just create our files with a text editor.
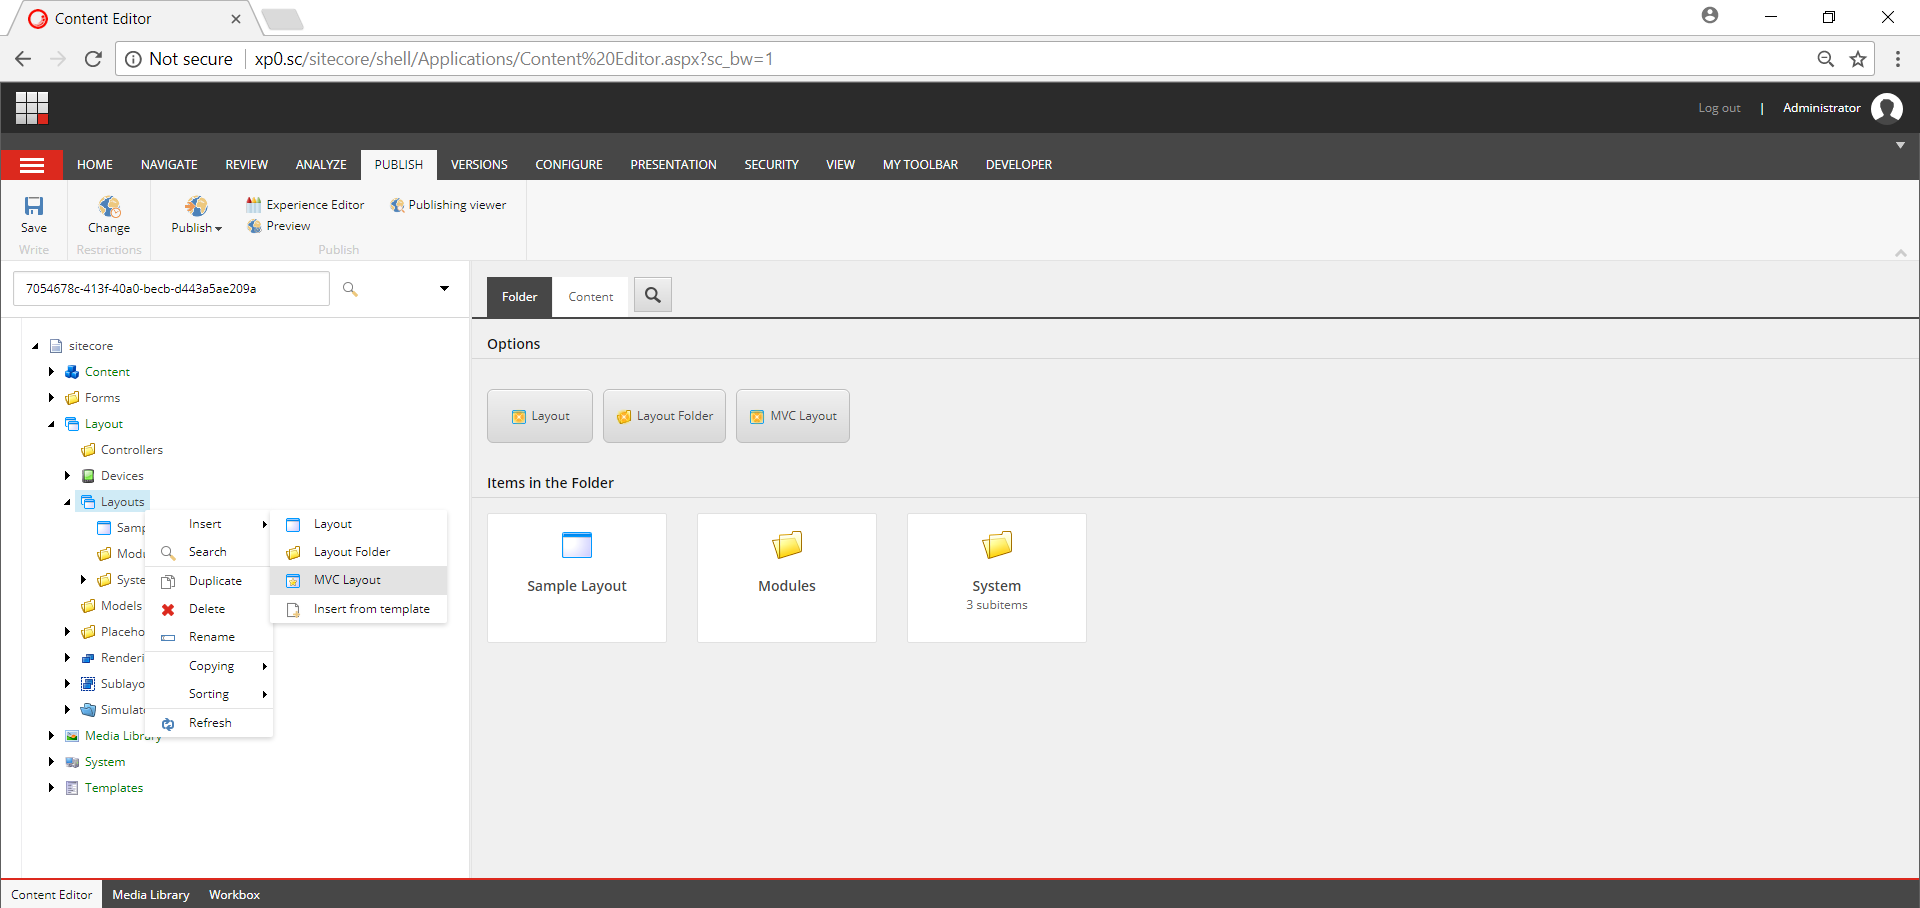
We start by creating a new MVC Layout an placing it in the Views/Shared folder.
Next, we open the file in the file system and replace its contents by the following text.
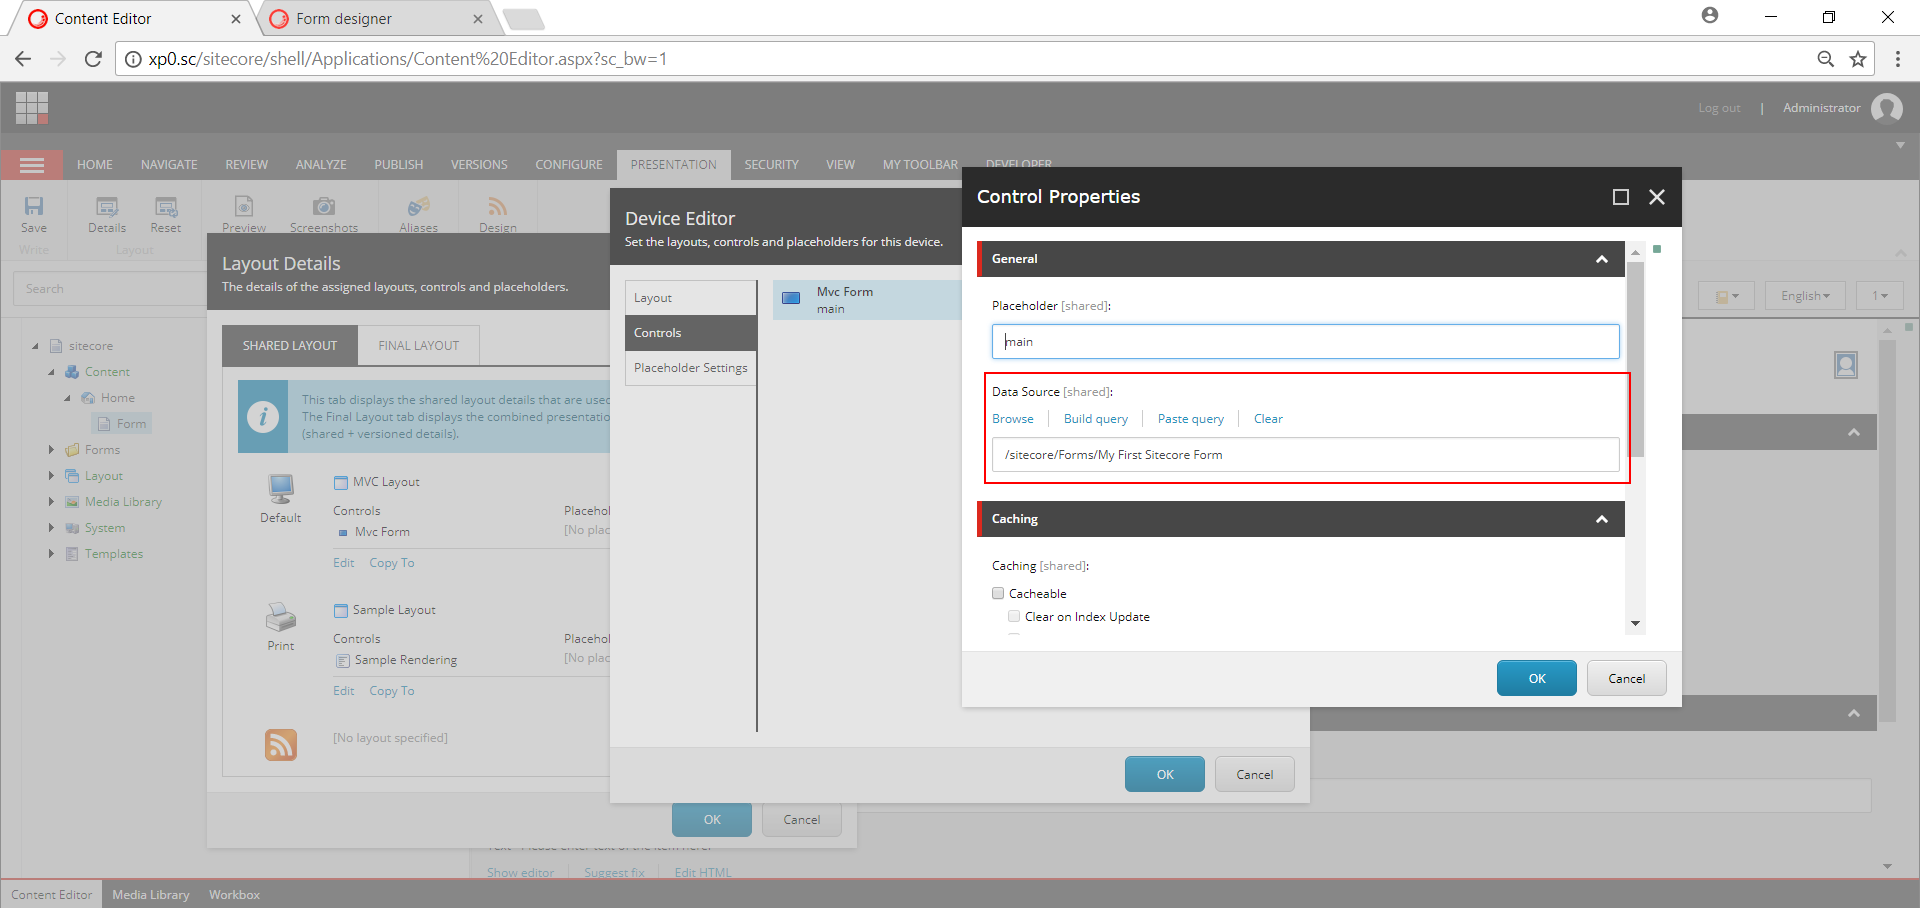
In the content editor, we create a new Sample item under home, remove all sublayouts, and change the layout to MVC Layout. we add an Mvc Form control (rendering/system/forms) to the placeholder main and select the new form as datasource.
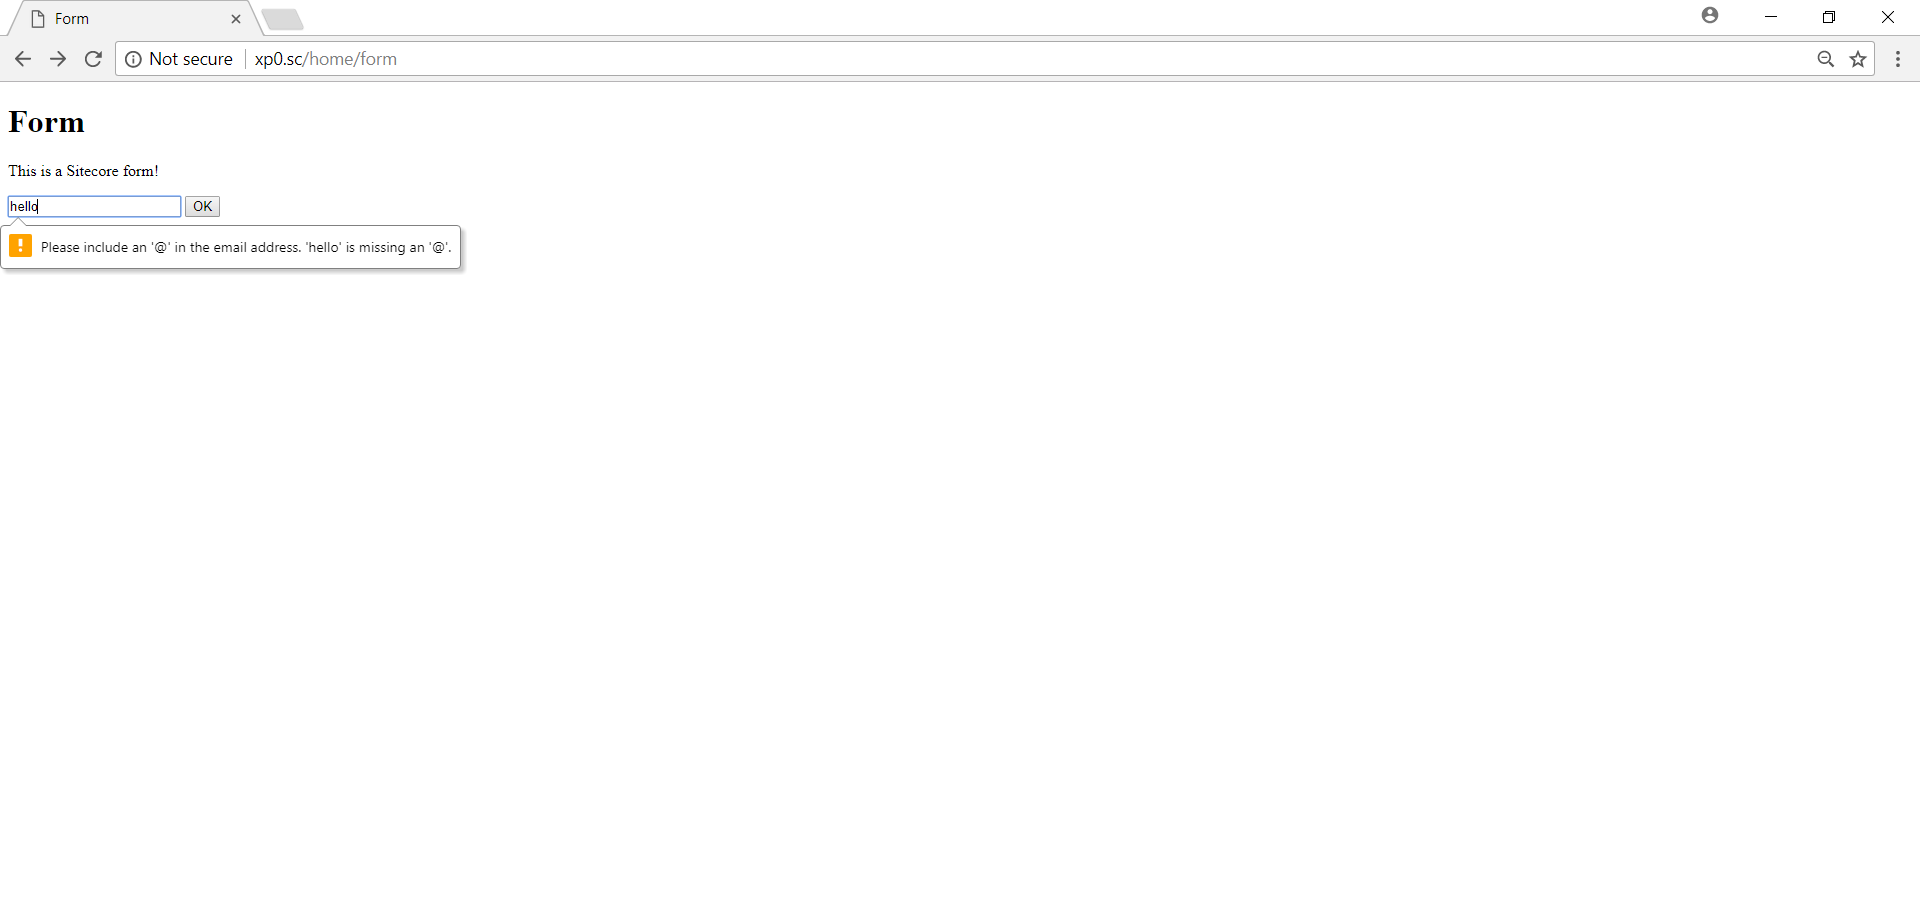
Since the Sample Item is in a workflow, we finish the workflow and publish at least the layout, the item, and the form. When we open the form page we see our amazing form. It contains the email field with watermark and validation, and a submit button.
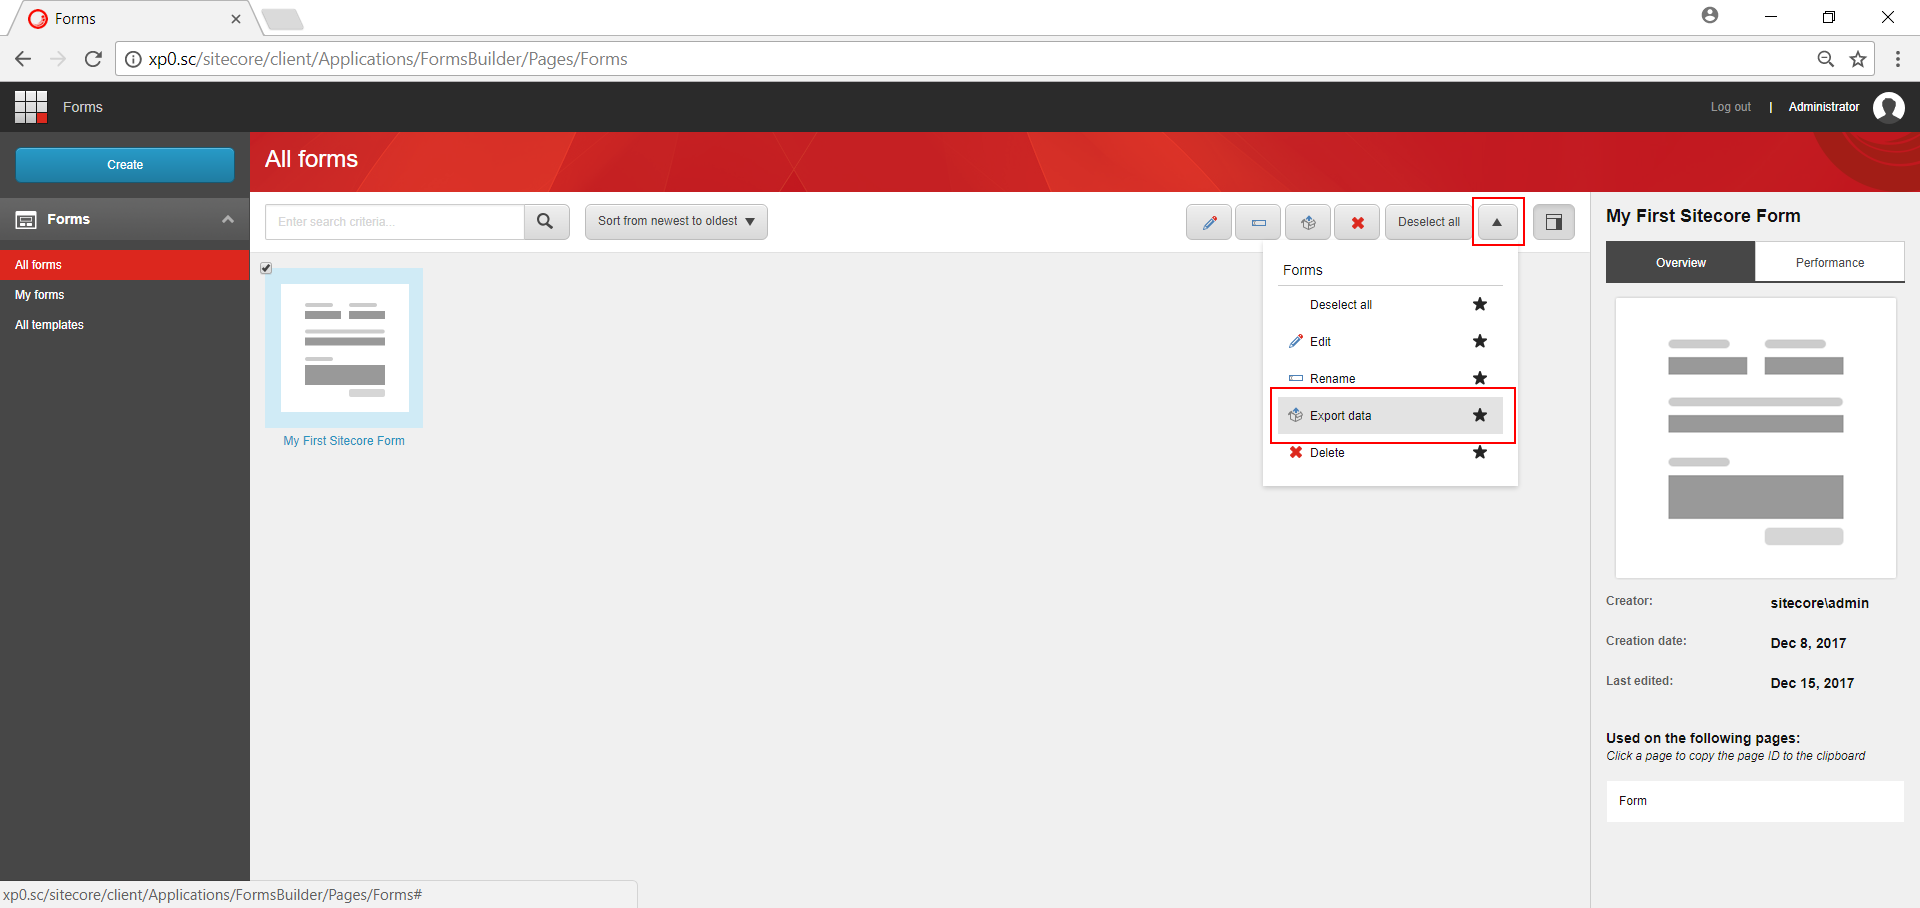
After submitting data, we can retrieve it from the Forms application by using Export data from the dropdown.
Marketing Automation
Engagement Plans are now replaced by Automation Plans and come with a brand new management tool. This tool is the Marketing Automation application and does not require Silverlight. When you open it up and hit Create, you will see the plan editor, a drag & drop interface which looks similar to the form designer UI.
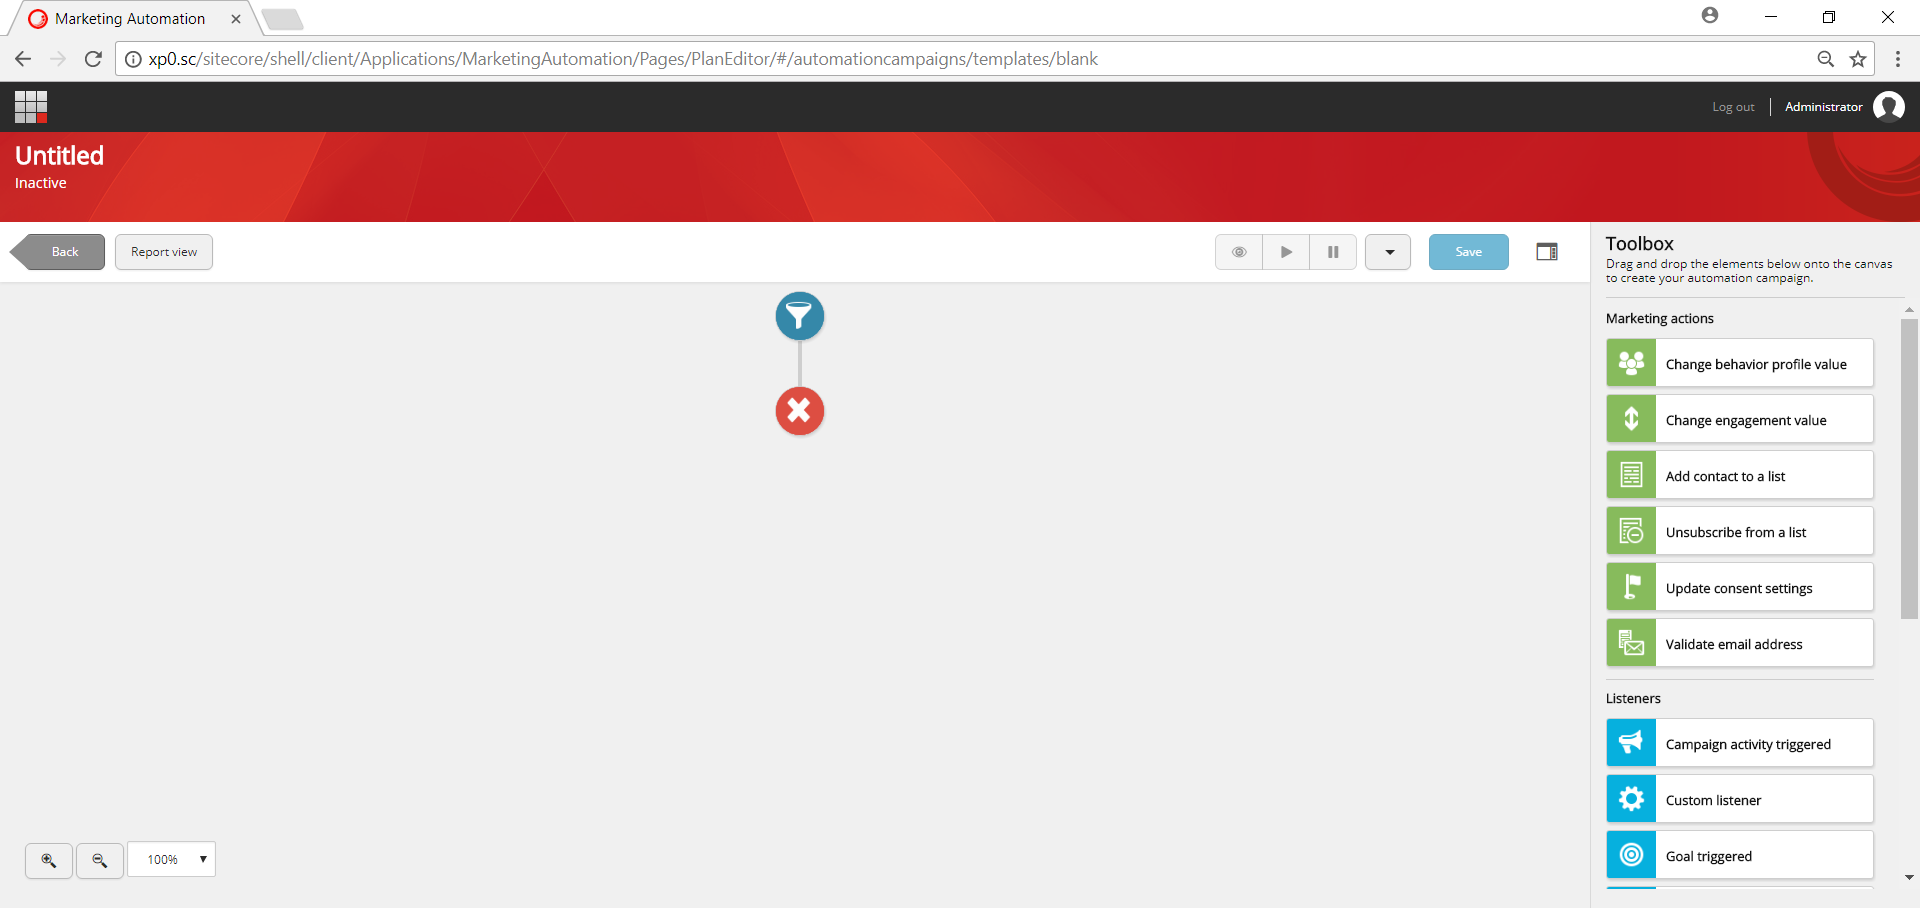
The plan editor is really easy to use. Click on the funnel to select a trigger for the plan. I created a goal Form submitted earlier in the Marketing Control Panel and can select it here. Next, add the Change engagement value marketing action and drag it between Start and End. Click the green circle to open the properties and assign an engagement value.
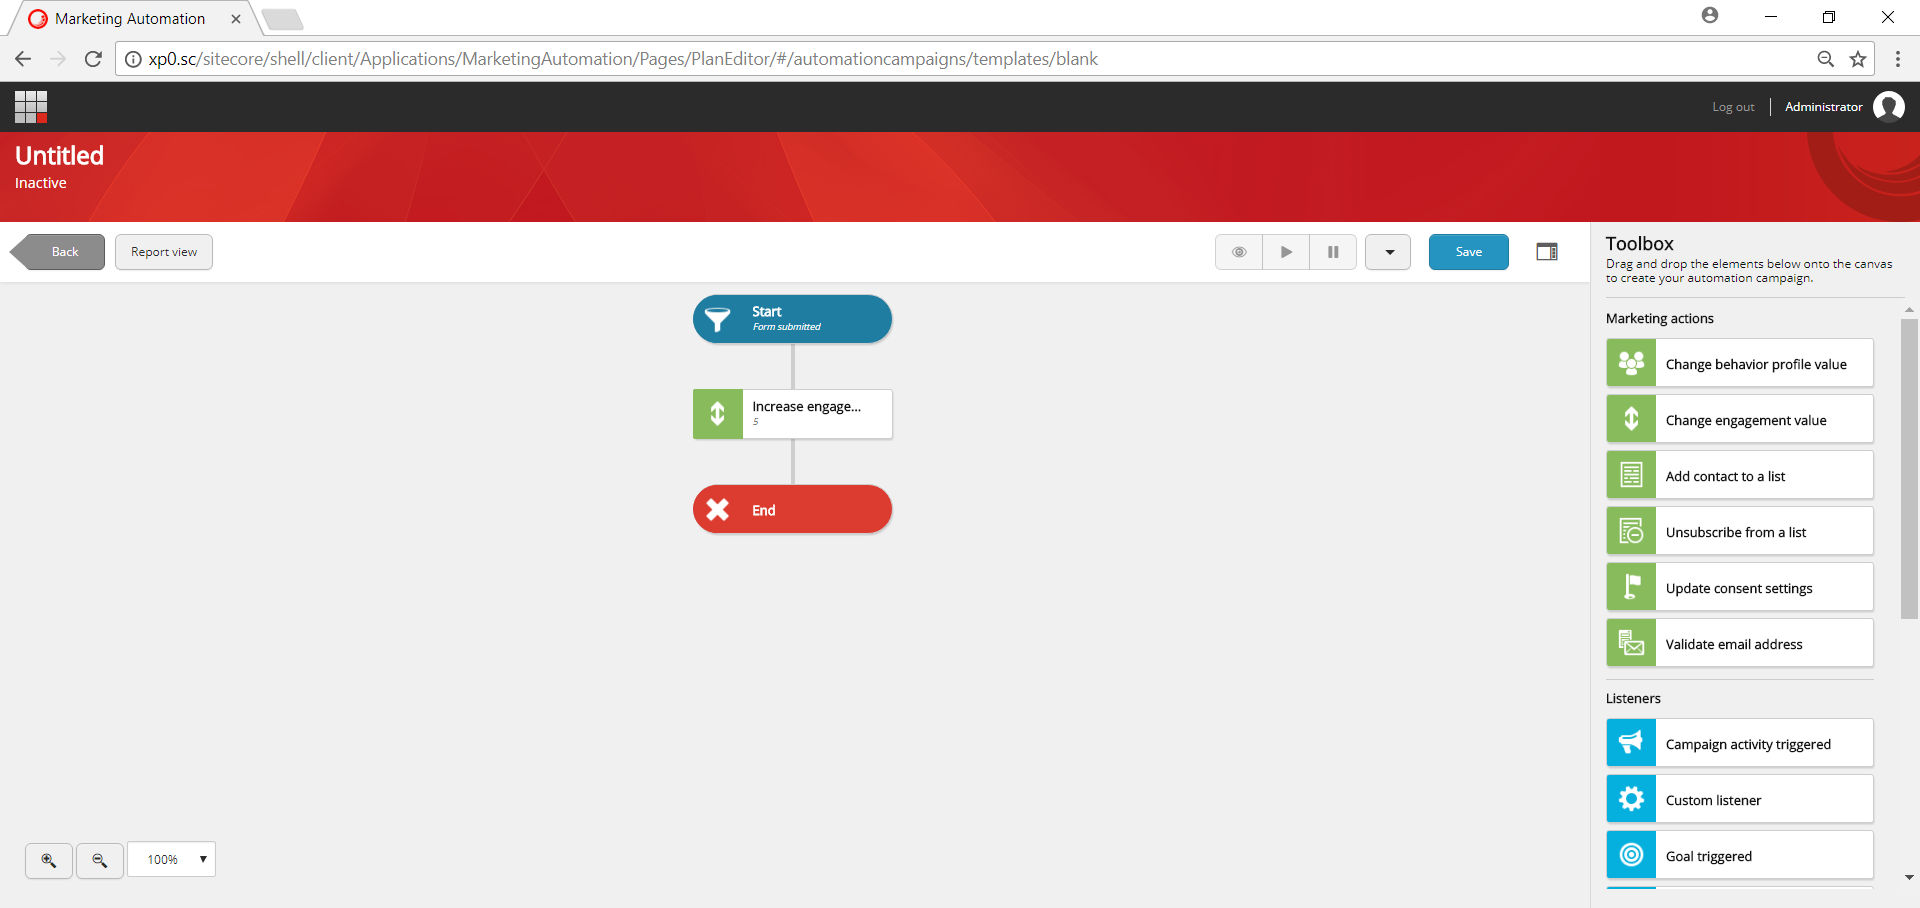
Now, save the campaign and start it by clicking the Play-Symbol in the upper right. Sitecore notifies you that all contacts that fulfill the condition are moved into the plan.
Issues
I would have loved to show you this plan in action, but unfortunately I have some issues with xConnect. Sitecore 9 ships with Contained Database Users, which means that you don’t have to create Logins in SQL server, instead the username and password are contained in the databases themselves. Apparently something went wrong during my installation, because the user from the connection strings did not exist in the collection databases. Fixing this seemed as simple as creating a new user, but this sent me down quite a rabbit hole:
- Creating a contained user requires the dabase to be in Partial containment mode
- Changing the database containment to Partial requires Change Tracking to be disabled
- Disabling Change Tracking on the database requires it to be activated on all tables
- …?
Easy as replacing a light bulb, isn’t it?
Although I might have been close at this point, I did not want to change the tables in the database, so I went ahead and created the required login. Although the connection seems to work now, I still get some exceptions in the log and do not see any interactions. Once I fixed this, I will update the post or create a new one.
Conclusion
Considering the installation process’ substantial changes (making it quite a bit harder to get a local system running), the amount of new features is a little disappointing.
In the meantime Sitecore 9 Update 1 has been released, and its feature list feels more like a major update. This leaves the impression that Sitecore released a premature version as Sitecore 9 and delivered the final product as update. I hope I will find the time to examine the Update 1 soon, since I am curious how well the EXM is now integrated.

Hi Markus, we have set up Sitecore 9, with SOLR and xConnect. We have also tested setting up some forms in Sitecore forms using the MVC layouts, etc. We also set up an automation plan using the new features.
This was all great and I can see that my contacts are processing through the automation flow. In our model we had the submit action trigger a goal which sent the user through the automation plan. Within the automation plan however was a send email node which is being hit and completed, but no emails are being sent.
Do you know how to associate the email address fields in the form with the recipient email using the EXM automated emails, triggered by marketing automation?
FYI: I can see the Speedwell_Sitecore_ExperienceForms database table dbo.FieldData.
Hi Ben,
it seems like there is no equivalent of the helpful Update Contact Details Save Action available yet. I would guess it will be added at some point. In the meantime, you could create your own save action. Here is an example that should help you get started.